Add custom checkout fields to your WooCommerce emails
WooCommerce has some built in filters to add custom checkout fields. Although this might be the most flexible way it is only recommended to experienced developers so we will focus on an easier way using some plugins to get this done in just a few minutes.
woocommerce_billing_fields, woocommerce_shipping_fields & woocommerce_checkout_fields
Just in case you want to go use the filters, here’s the way to the WooCommerce documentation.
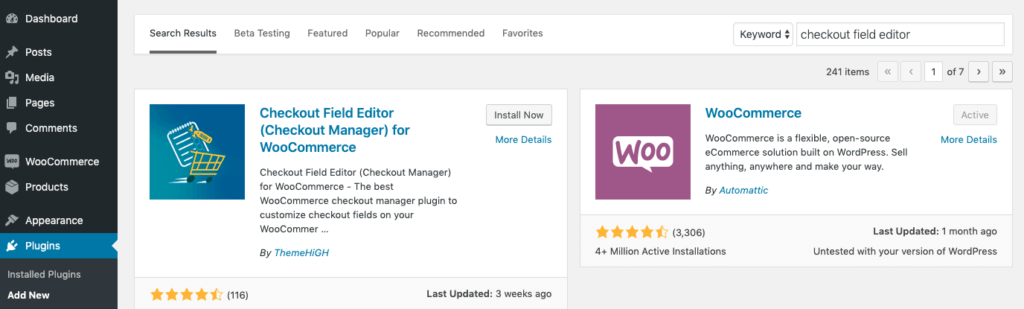
Instead we are using the free plugin checkout field editor so go to your WordPress dashboard, navigate to PLUGINS -> ADD NEW and install the plugin.
Add a custom WooCommerce billing field
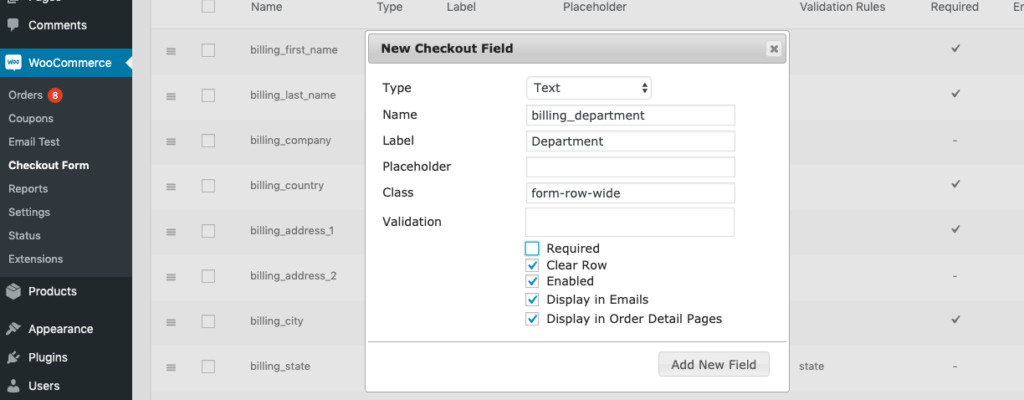
In this example we want to add a field “department” right after the company field.
Navigate to the new settings page at WOOCOMMERCE -> CHECKOUT FORM and add the field:
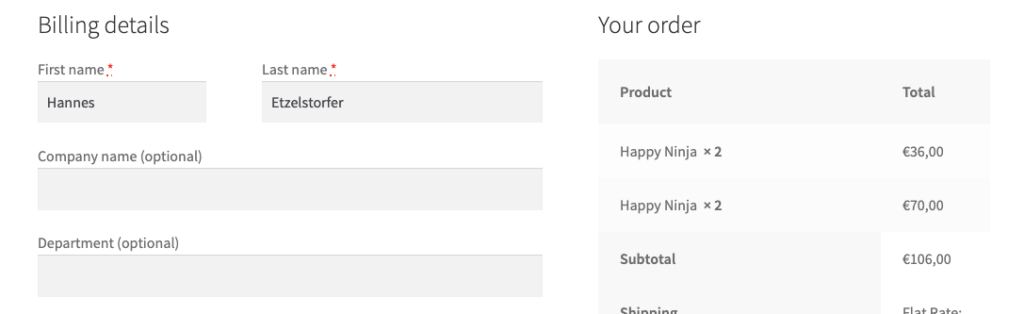
Afterwards drag the field to the right position and save the changes.
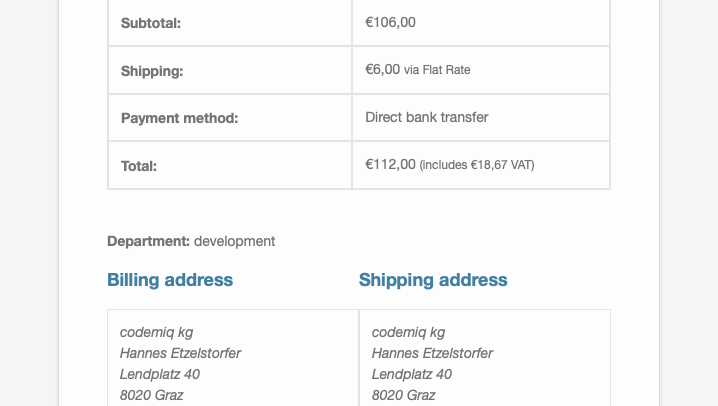
After submitting the order we receive an email containing the new department field but the field doesn’t appear where we want it to be…
WP HTML Mail and custom fields
Now we see the power of our WooCommerce email customizer plugin .
Install the plugin and also the free plugin WP HTML Mail and follow this article to configure your email design and content.
Now go to SETTINGS -> EMAIL TEMPLATES -> WOOCOMMERCE and edit any of your emails. Click on the billing address to edit the text block.
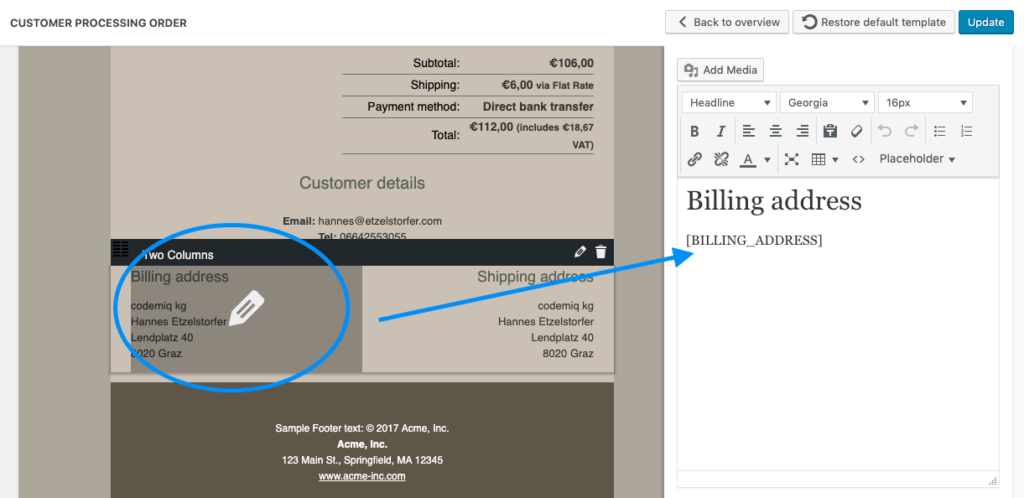
Instead of using the BILLING_ADRESS placeholder we can add our individual fields one by one. They are all available in the PLACEHOLDER dropdown in the editor:
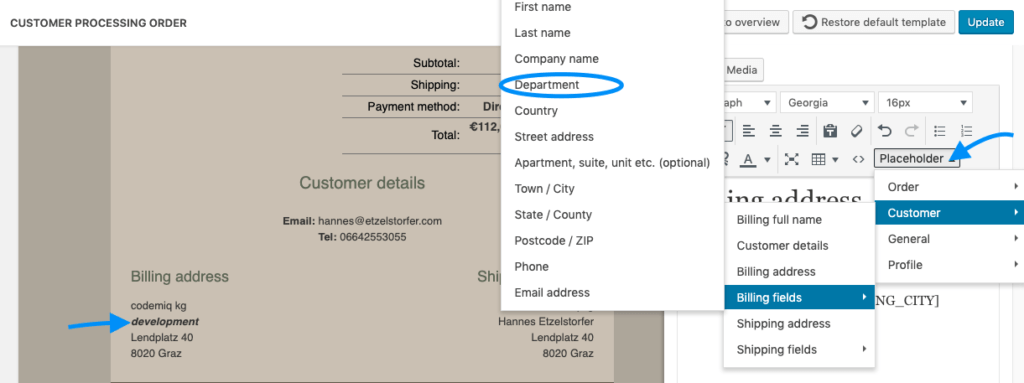
That’s it and you can even see the result immediately in live preview. You can also use your custom field or any other fields anywhere in the email content or even in the subject line.